
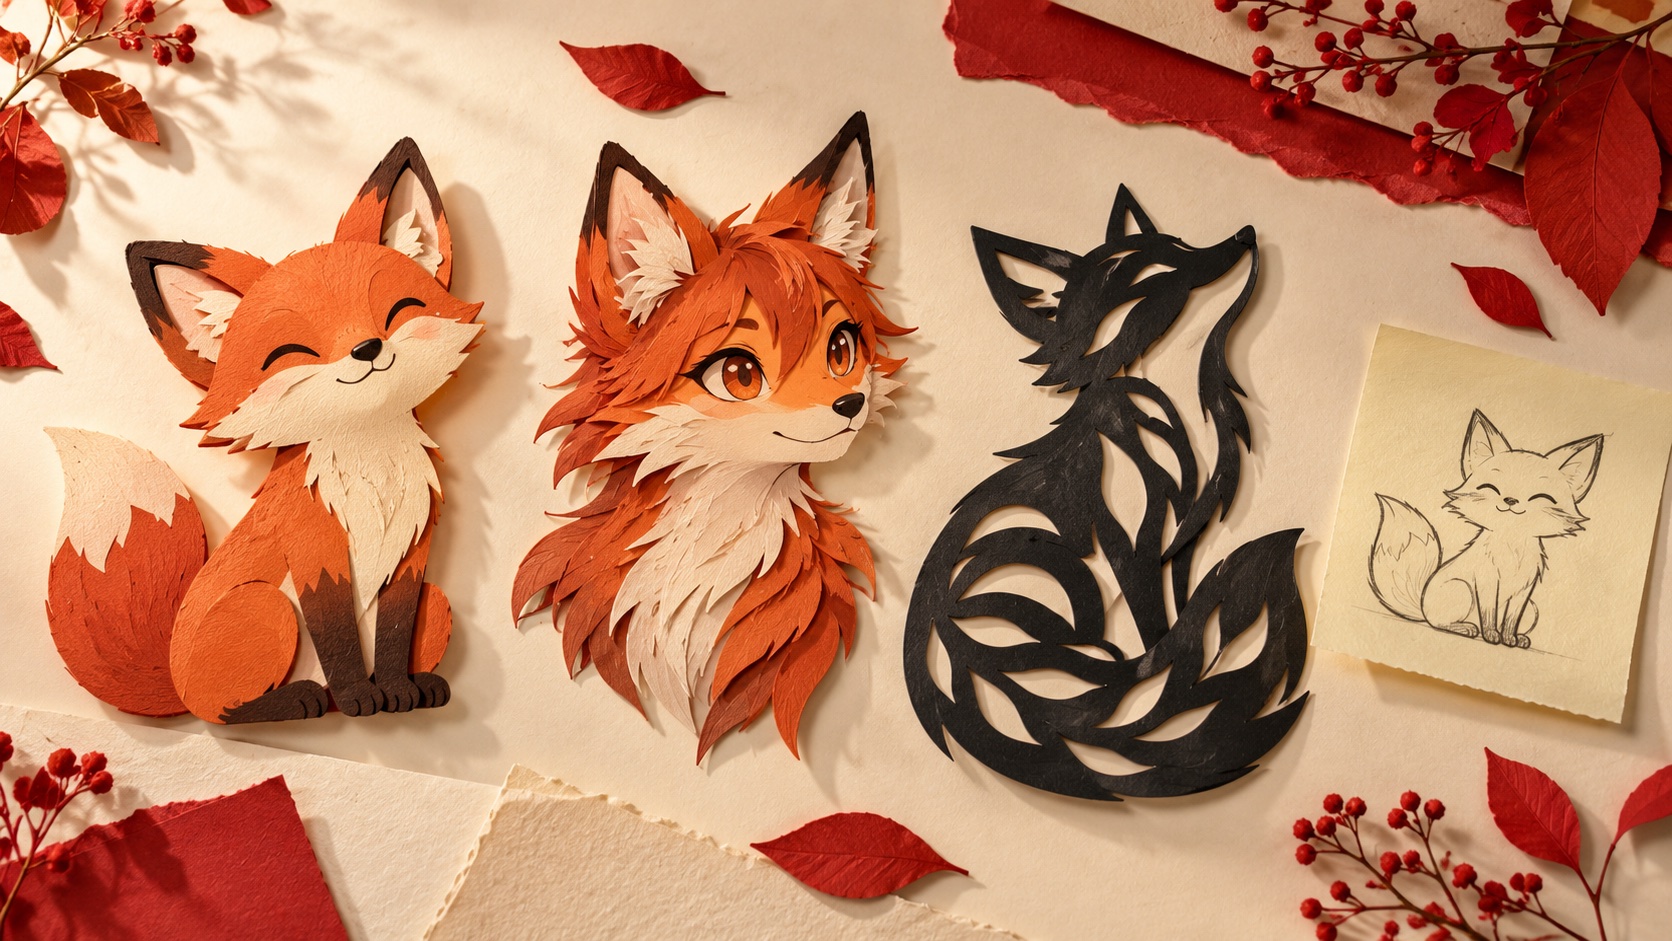
A fox can become a character to color, a bold silhouette, or a tiny idea for your notebook. The Style menu on iBeed AI Voice Sticker Maker gives the same starting idea a different creative direction. The four labels you will see are Cartoon, Anime, Paper Cut, and Sticky note. Here is how to choose deliberately instead of changing several things at once.
Start with the device menu
From the main menu, open Style, choose a style, and return before speaking your idea. Your selected style carries into the next voice creation. Start with a short subject such as “a friendly fox sitting under a tree.” Keeping the subject simple gives you a clearer way to compare the results. New AI requests need an internet connection; browsing the menu is not the same as running a generation.
Cartoon: a character you can build a story around
Use Cartoon as a starting point for an animal, an imaginary vehicle, or a character with a clear action. For example: “a happy fox carrying a small backpack.” Preview the result before printing. If your next step is hand coloring, ask for a simple scene with space around the subject rather than a crowded page. The result is generated, so fine details can vary between requests.
Anime: try a different character direction
Anime gives you another route for a character idea. Keep the subject and action from your Cartoon request and change only the selected style. A side-by-side comparison is more useful when you can point to the same subject in both pictures. Ask your child what they notice: the expression, pose, outline, or sense of movement. There is no need to choose a winner; the interesting part is describing the difference.
Paper Cut: a look, not an automatic cutting function
Choose Paper Cut for a cut-paper visual direction. The name describes the generated image style. The printer still produces a black-and-white thermal image; it does not cut out the artwork. If a project needs a shaped sticker, a grown-up can help trim compatible sticker paper after printing. Do not confuse a paper-cut silhouette in an illustration with a claim that the device has a cutting mechanism.
Try “a fox with a large fluffy tail, simple paper-cut style.” Leave out tiny scenery at first. Broad shapes are easier to compare with the more character-focused versions, and they give you a good starting point for a greeting card or a notebook decoration.
Sticky note: give a small idea a small home
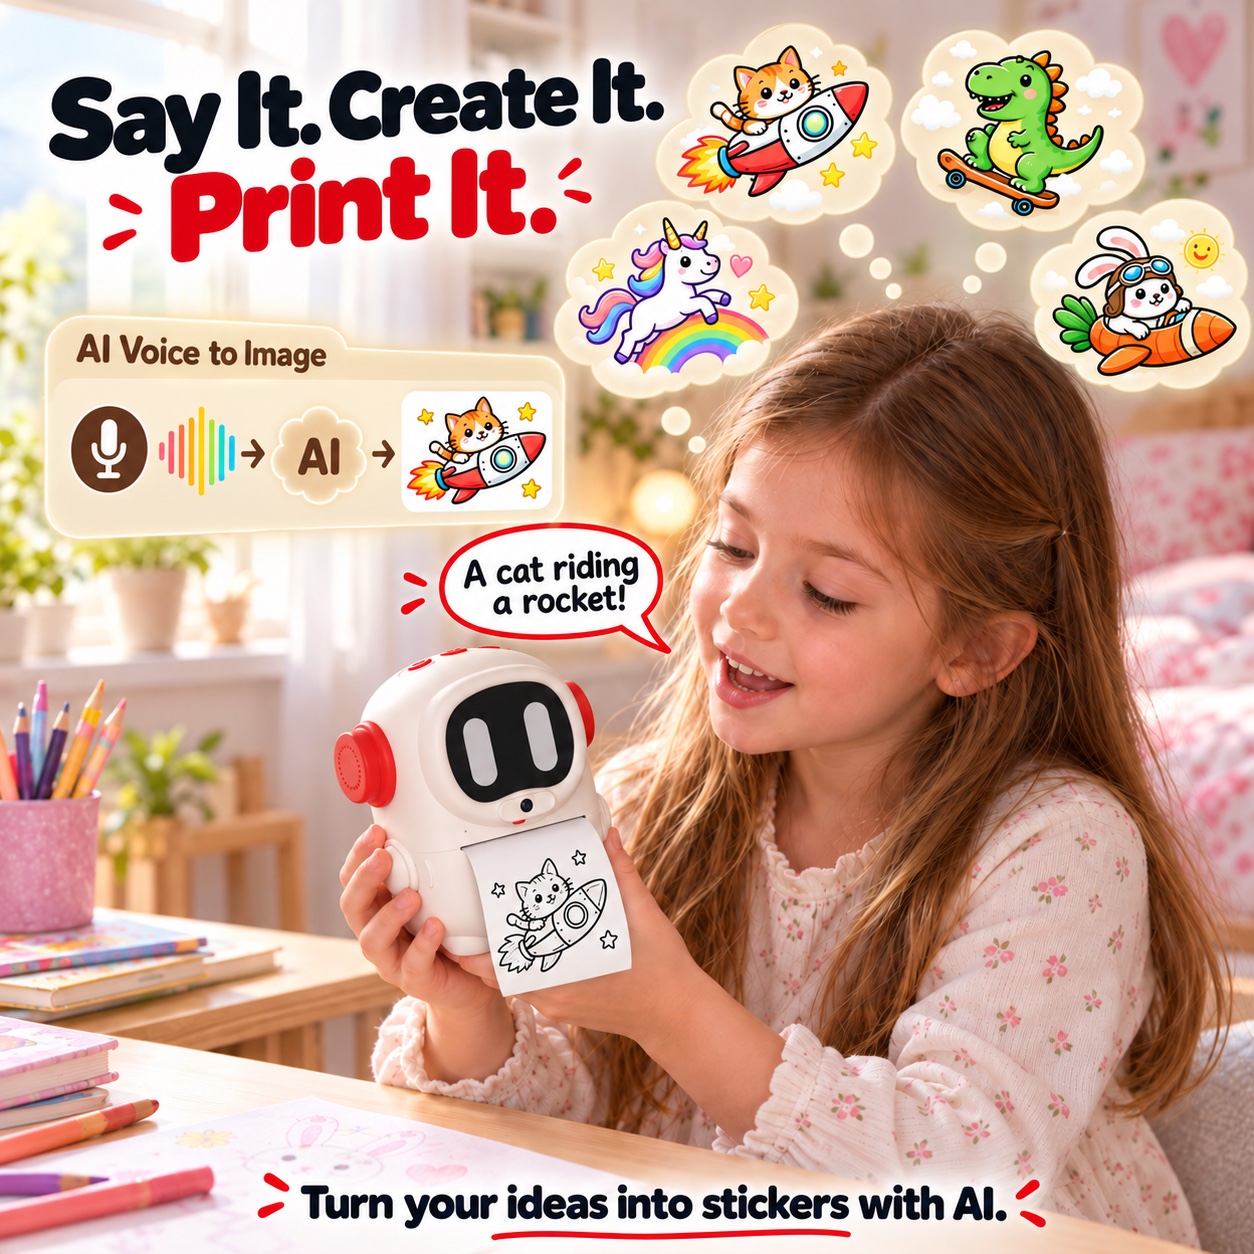
Sticky note is the fourth voice option. Try a brief idea for a little reminder or a simple note rather than a long paragraph. Check the result carefully on the screen, especially if words are involved. AI-created text may need another attempt; previewing is the moment to catch it, before using paper.
Voice styles and camera modes are different menus
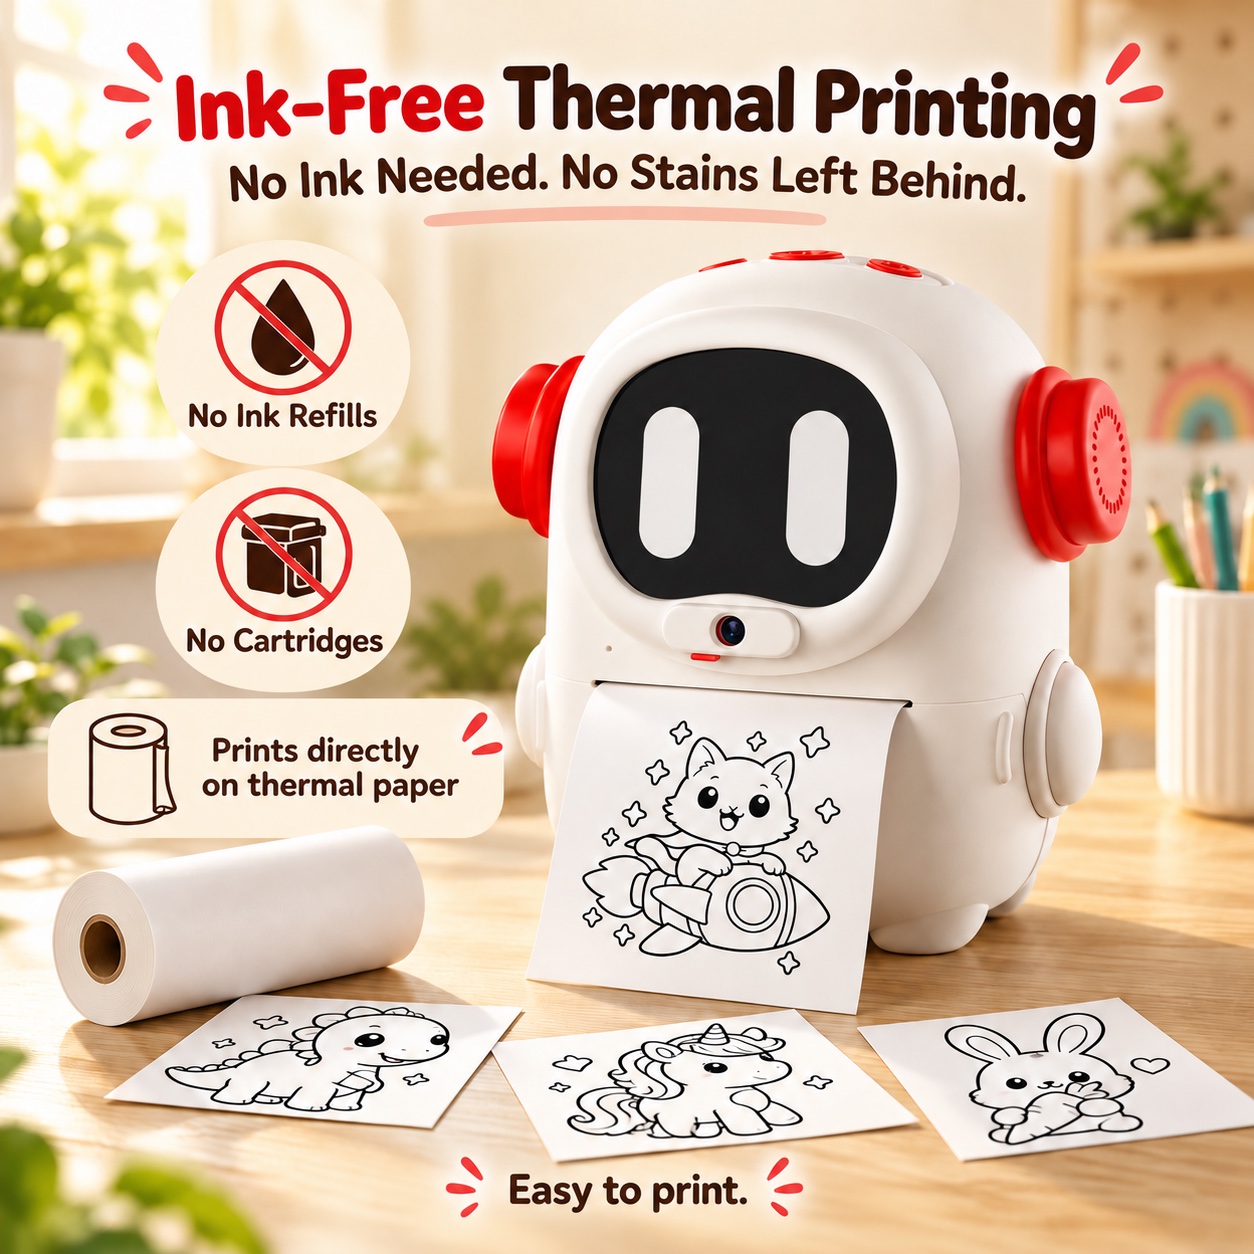
The voice Style menu is Cartoon, Anime, Paper Cut, Sticky note. In the camera photo workflow, the current choices are Grayscale, Photo, Cartoon, Anime. They are related creative tools, but they are not interchangeable names for one menu. You can also work with built-in or AI-created frames in the photo workflow. AI transformations and AI frames require connectivity.
A useful first comparison
- Choose one subject and keep its description short.
- Make one version, review it, and decide whether to keep it.
- Change the style while keeping the subject and action similar.
- Print the versions you want, then add color by hand if that is part of your project.
For first-time setup and the full photo-and-frame flow, open the Sticker Maker guide. Menus can differ with firmware; use the current device labels when following an older tutorial.