
A print is a starting point. What happens next—choosing a color, making a background, deciding where a character belongs—is where a small picture becomes your child’s own project. These five activities use the same simple loop: describe, preview, print, then make something with it.
Set out a small creative station
You need compatible thermal sticker paper, ordinary paper or a notebook, and coloring tools that work with your chosen paper. Test a small area before covering a whole print. A grown-up can help with trimming when a project calls for it. iBeed prints in black and white; the colors in these activities are added by hand. Connect the printer to Wi-Fi for new AI requests, and leave room on the table for the making stage.
1. Build a tiny ocean
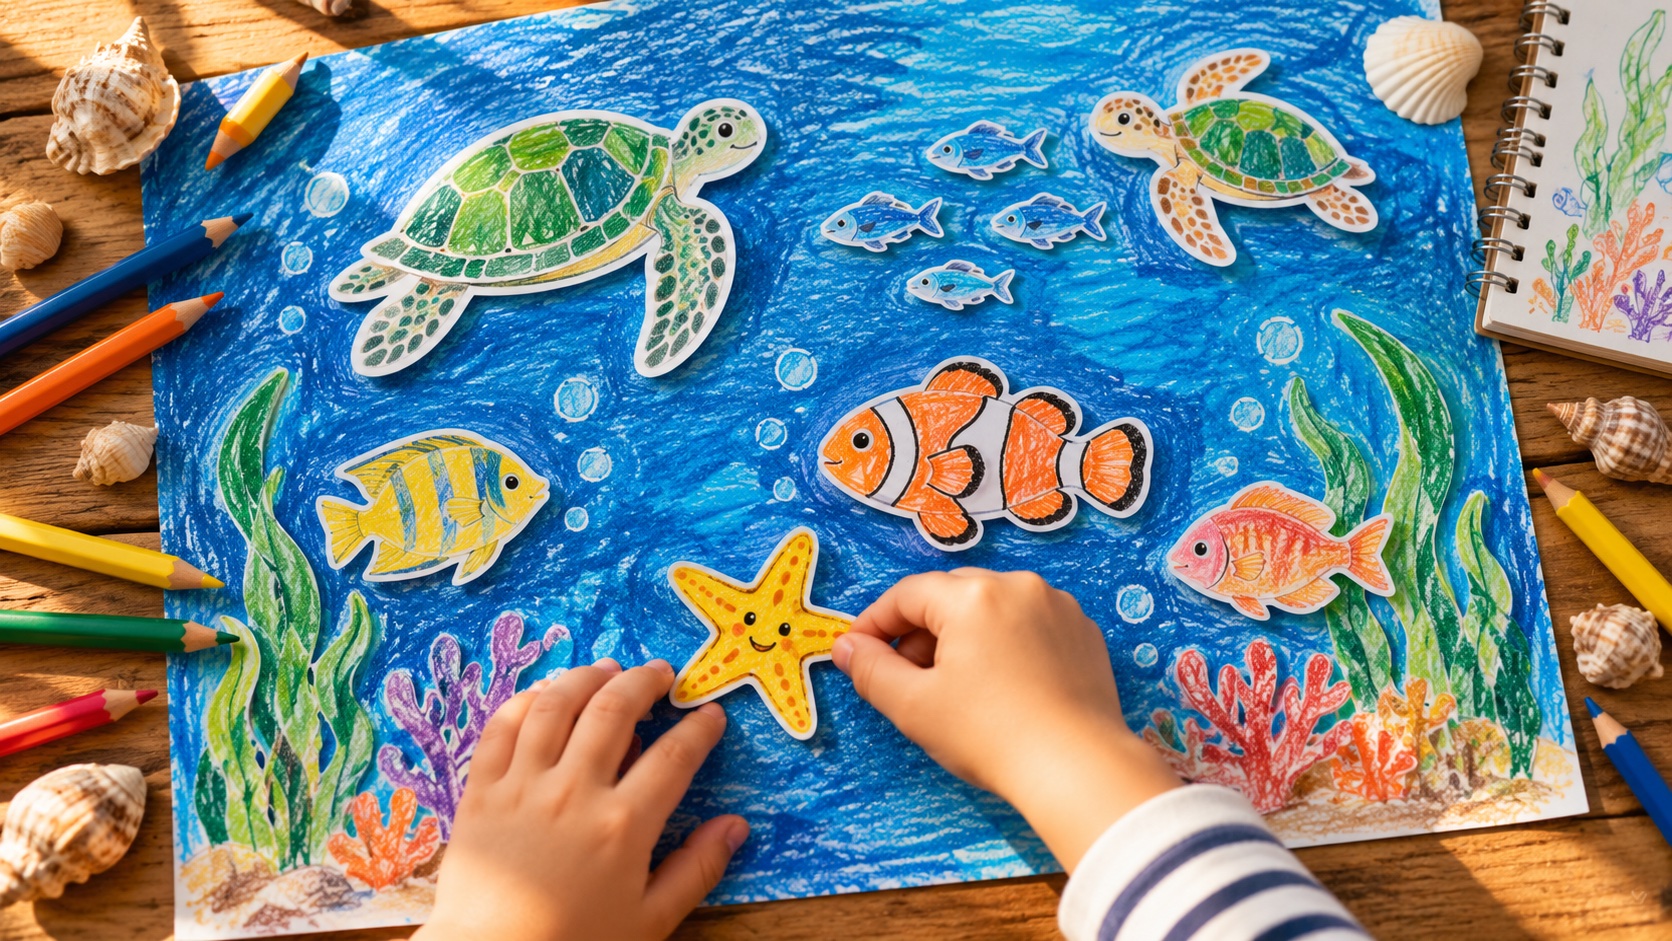
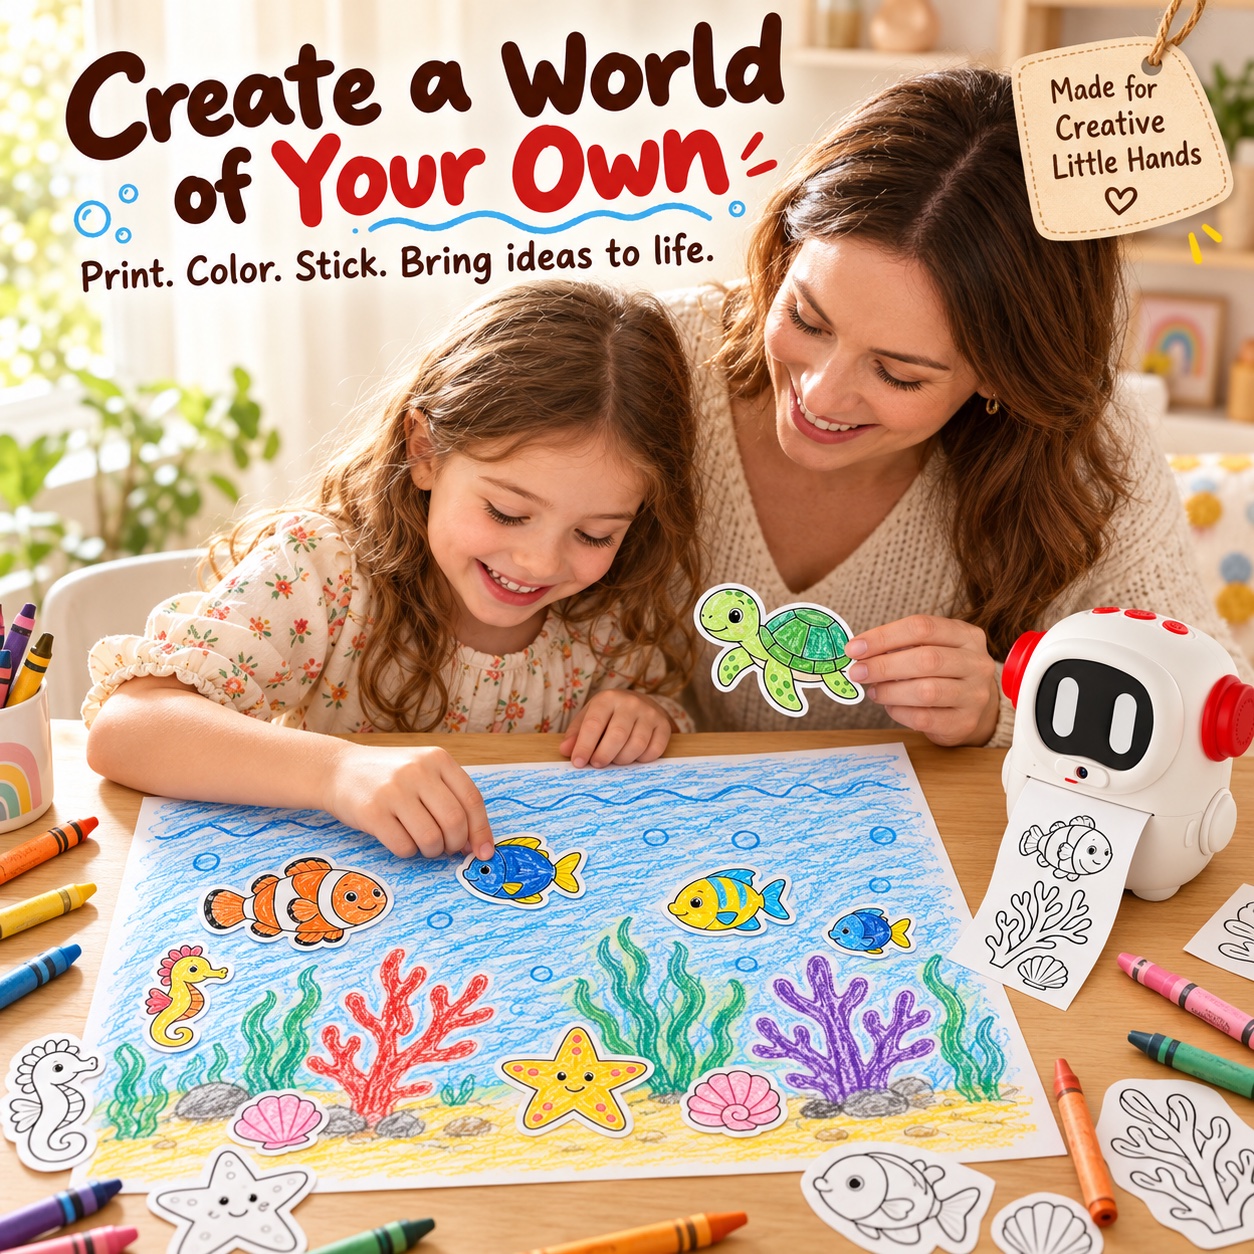
Start with a large sheet of paper and draw the sea with crayons. Ask for one creature at a time: “a friendly turtle with a simple shell,” then “a small smiling fish.” A simple Cartoon request gives you an easy first experiment. Review each image and print only the ones you want. Color the creatures, arrange them before sticking, then decide what the scene is missing.
A useful question is “where does the turtle live?” It gives the child a reason to add seaweed, bubbles, or a hiding place. The printer contributes the small characters; the child builds the world around them.
2. Make a story in three pictures
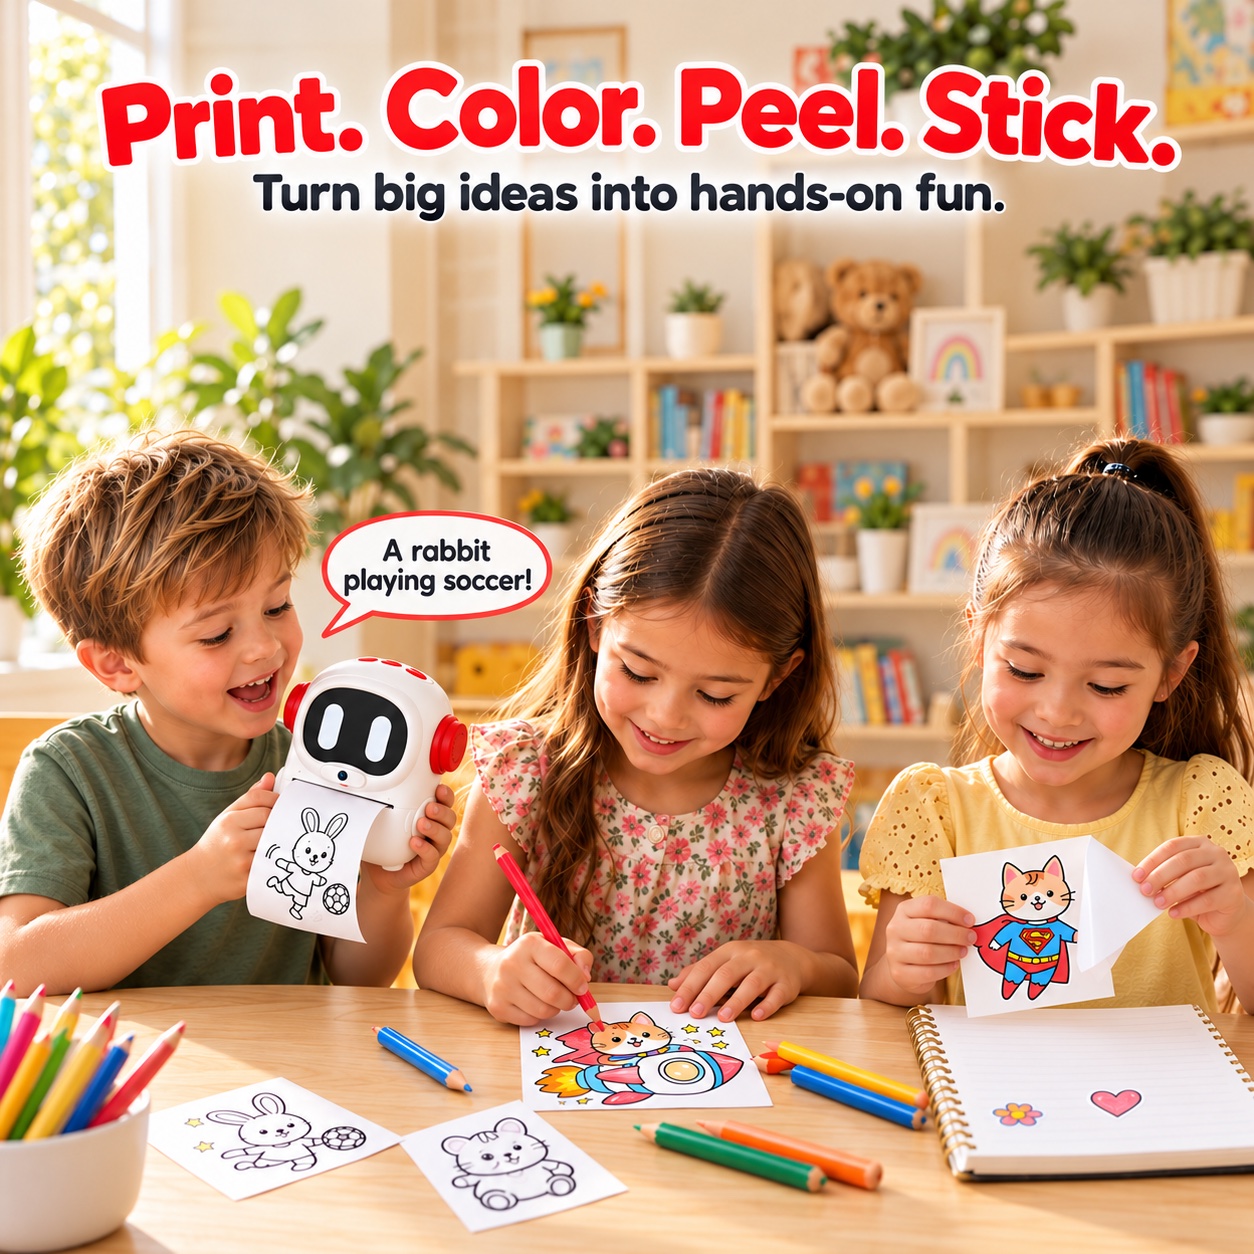
Choose a character and give it a simple problem: a kitten wants to visit the moon. Make a starting picture, then try a voice revision such as “give the kitten a superhero cape.” For another idea, place the character in a new setting. Review the latest image between requests. Generated details can change, so treat the sequence as a story you are creating rather than a promise of exact character continuity.
Stick three chosen pictures into a notebook. Let your child tell you what happens between them while an adult writes a short caption underneath. Their explanation connects the pictures; the images do not have to do all the storytelling.
3. Design a card for someone you know
Ask who the card is for before choosing the image. A grandparent who grows flowers might enjoy a fox holding a flower; a friend who loves space might like a rabbit beside a rocket. Keep the main request small enough to fit the card. Try Paper Cut if you want a different visual direction, remembering that the printer creates an image rather than cutting the shape.
After previewing and printing, add your own message with a pen. A hand-written note makes the card specific to its recipient and avoids relying on generated text for names or important words.
4. Give a notebook its own cast of characters
Pick a theme such as garden animals, imaginary planets, or tiny musicians. Each person chooses one subject. Print a few, color them in a shared palette, and arrange them on a notebook page or a separate cover sheet. Use surfaces that are suitable for your paper and adhesive. Planning the arrangement before peeling helps children see the difference between trying a layout and committing to it.
5. Turn a favorite into a new invitation
Open Favorites and choose a saved creation. Ask, “what else could we make with this?” A familiar fish could become a treasure-map clue; a little fox might become the host of an imaginary picnic. Reprinting a saved image can be the quickest way back into making, without starting every session with a new request. Some saved content and local camera functions are available without a new AI request; online generation and transformations still need connectivity.
Keep the making stage longer than the choosing stage
You do not need a large stack of prints. Choose a few that invite more work: coloring, folding, arranging, or telling a story. If a result is not what your child imagined, decide together whether to revise it or turn the surprise into part of the project. The goal is a creative afternoon, not a perfect gallery.
For device setup, photo modes, and frames, see the Sticker Maker guide. For a focused way to revise an idea, read Change One Thing: A Voice-Editing Game.