
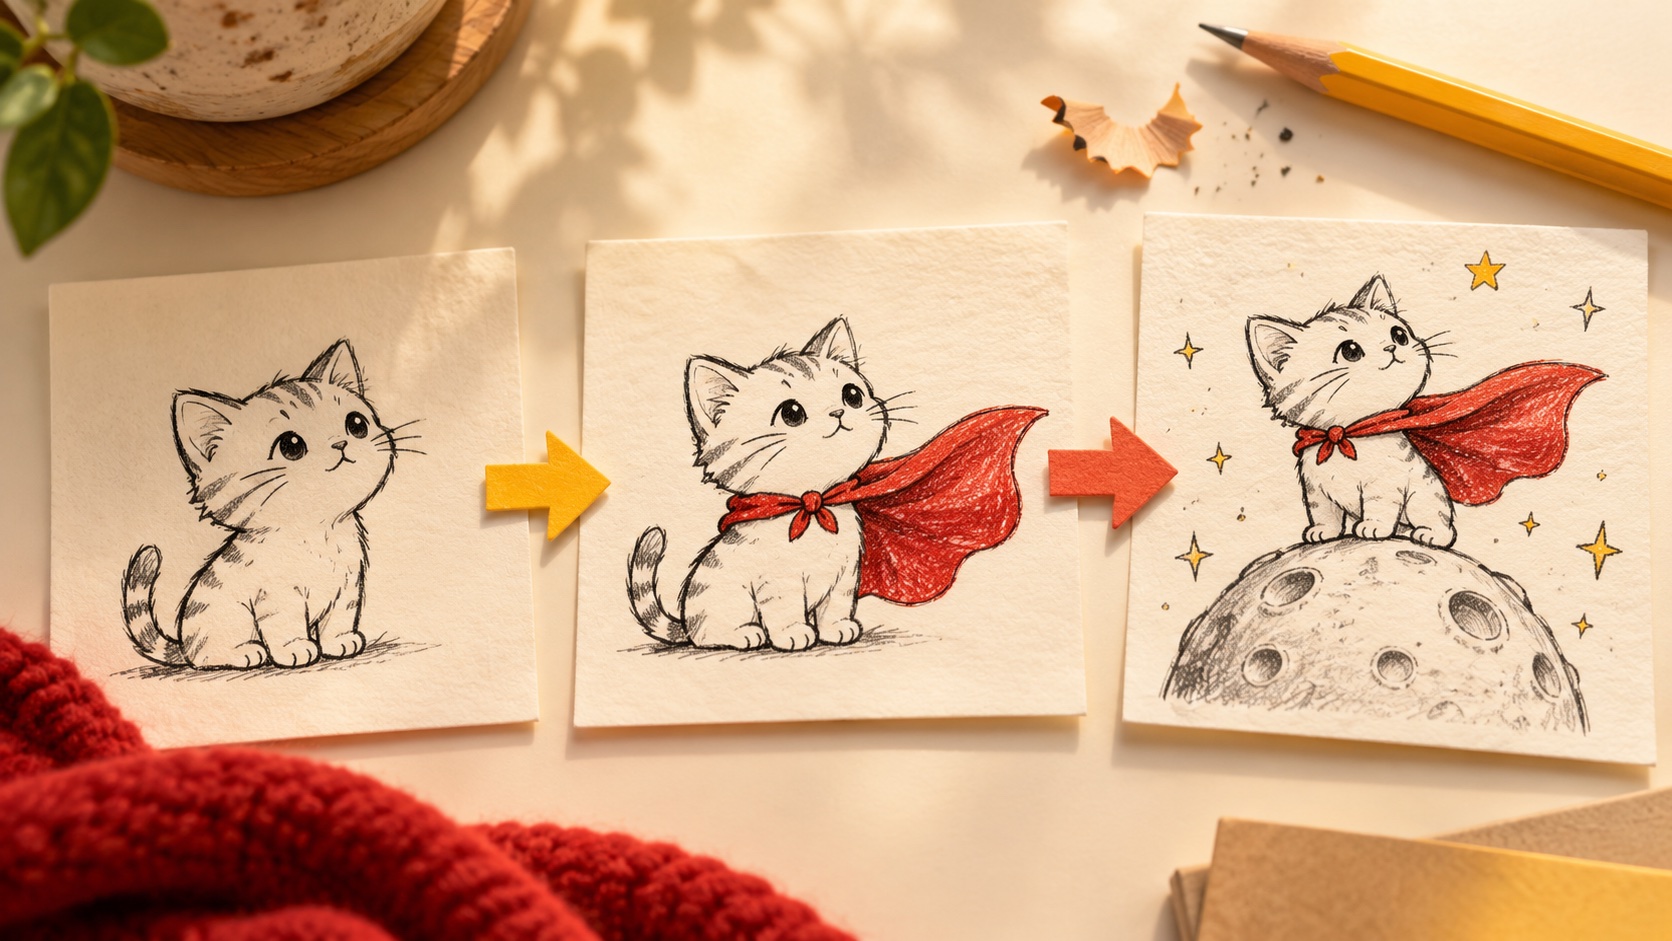
“Make it better” is a hard instruction to follow. “Give the cat a superhero cape” is much easier to picture. A short voice-editing game on iBeed AI Voice Sticker Maker turns that difference into something a child can see: one image, one change, then a look at what happened.
Begin with something easy to recognize
Choose a short starting request such as “a happy kitten sitting down.” Select a voice style on the device before creating; Cartoon, Anime, Paper Cut, and Sticky note are the current labels. New AI creation and revisions need an internet connection. Once the result appears, pause and describe it together. What is the subject? What is it doing? Which part do you want to keep?
You are building a shared reference before asking for a change. That is especially useful when a child points at something and says “that part.” Naming the part—tail, hat, background, or expression—turns the pointing into a request the system can work with.
Ask for one visible change
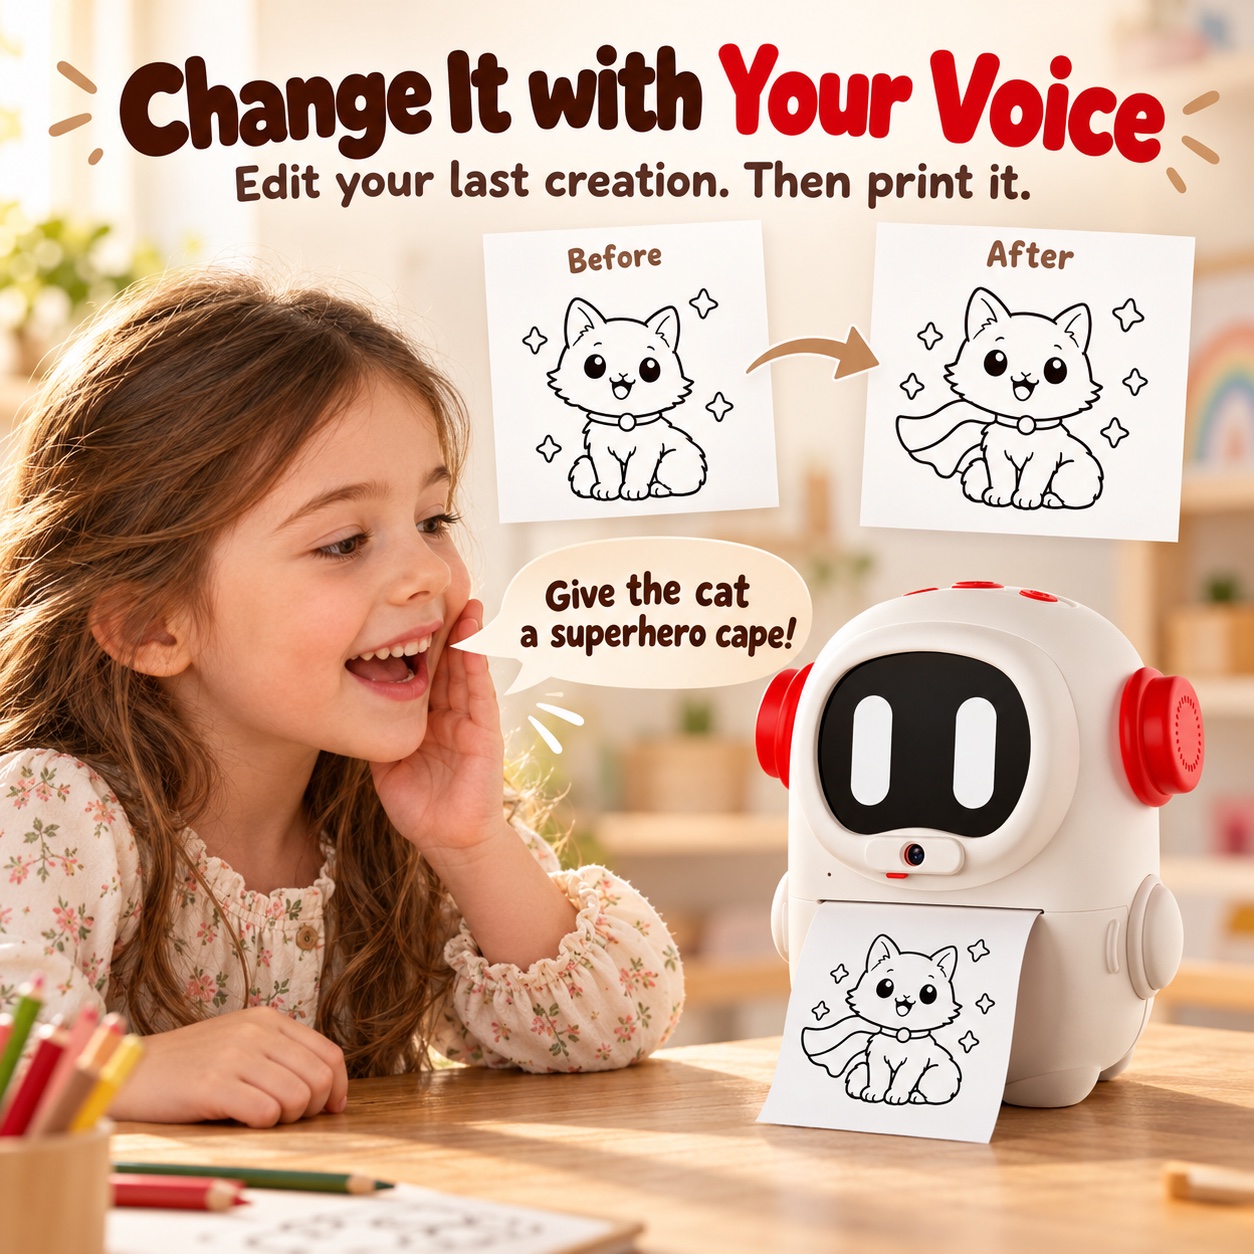
Try “give the kitten a superhero cape.” Another round could be “put a star beside the kitten.” Keep the request connected to the latest creation. Avoid combining a new subject, a different pose, a detailed background, and a new style in the same sentence on the first attempt. One change makes it easier to tell whether the result matched the idea.
Compare before you print
Ask two questions: “what changed?” and “what stayed the same?” The answer does not have to be a technical evaluation. A child might notice that the cape is right but the face changed too. That is a useful observation. Generative edits can alter other details, so the activity is about giving direction and checking the result, not guaranteed pixel-perfect control.
If you want to keep a version, save it to Favorites when the device offers that action. Wait until you have a result you want before printing. You can print two chosen versions for a paper comparison later; you do not need to print every experiment.
Turn the change into a story
Once the kitten has a cape, ask why. Is it rescuing a toy, flying to a picnic, or pretending to be brave? Choose the next image request from that explanation. An adult can write down the child’s words beside the final print. The story gives each revision a purpose beyond decorating the same picture.
For a quieter version of the game, take turns describing the next change aloud before sending the request. One person proposes the idea and the other says back what they understood. If the two descriptions are different, you can clarify them before involving the device.
Try these small requests
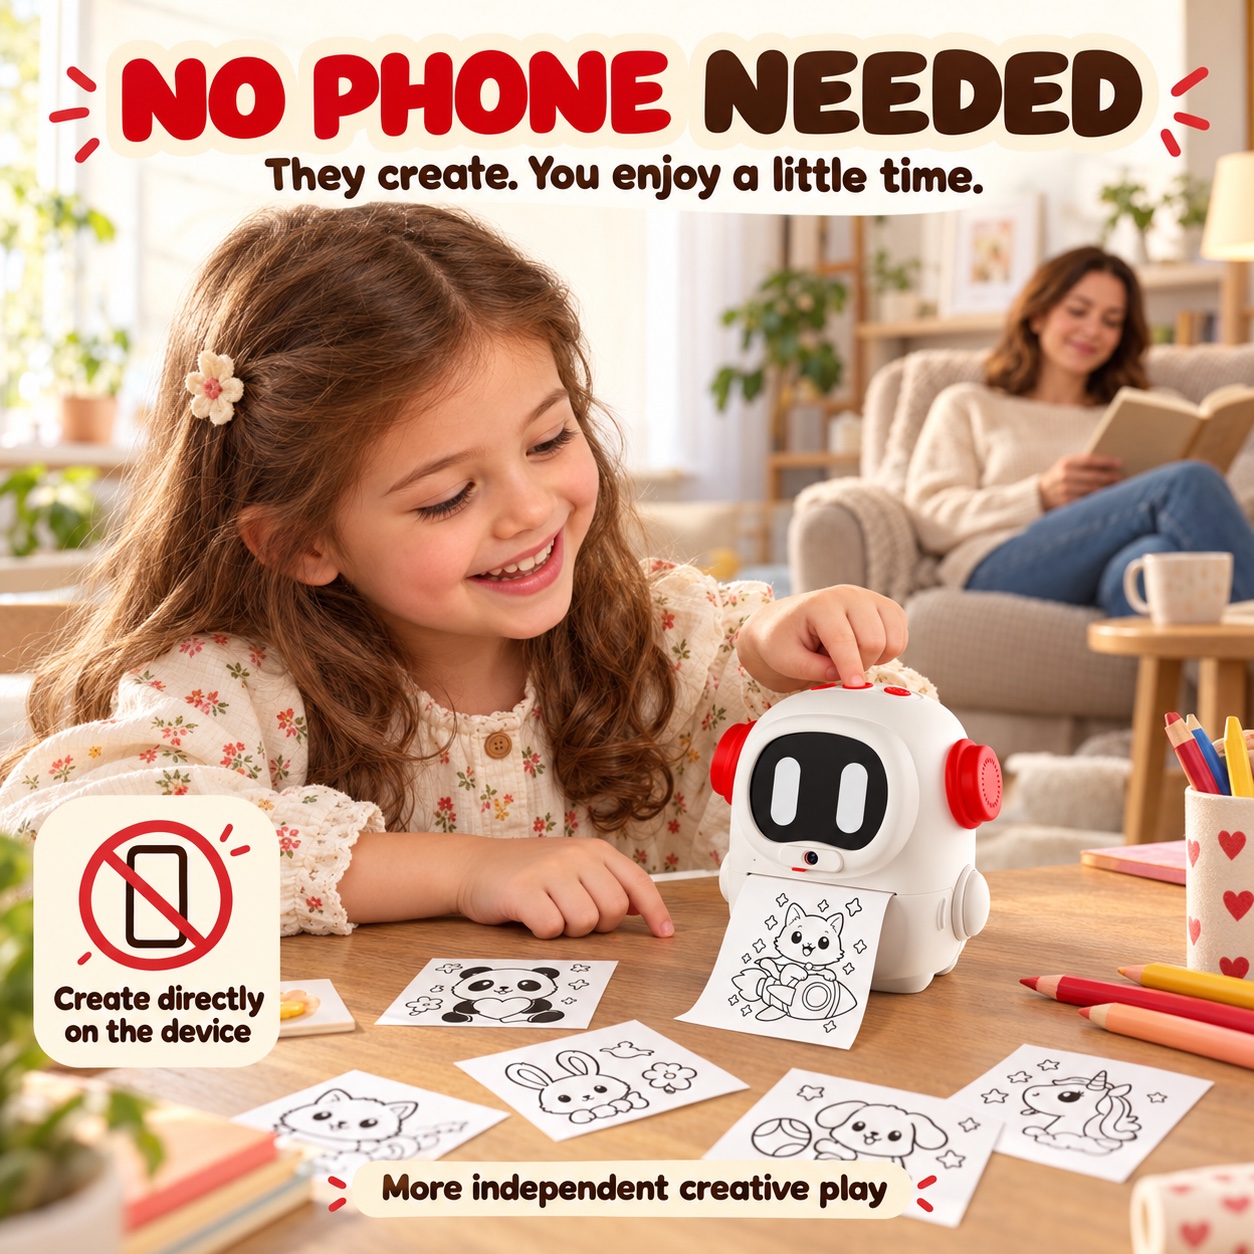
- Add one accessory: “give the rabbit a little backpack.”
- Change one action: “make the turtle wave.”
- Add one nearby object: “put a flower beside the fox.”
- Simplify one scene: “keep the cat and remove the background.”
These are ideas to try, not fixed output examples. The result can vary with the image, selected style, and request. If a request makes the picture less clear, return to a simpler description rather than stacking more corrections into a long sentence.
Keep voice editing separate from the camera menu
Revising your latest AI creation is not the same as choosing a photo mode for a captured picture. The camera workflow currently offers Grayscale, Photo, Cartoon, and Anime, with built-in or AI-created frames. If you started with a camera photo, follow that workflow and review the selected mode. The device guide explains the difference.
To turn a finished character into a physical project, try the five sticker craft projects. A black-and-white thermal print can be colored by hand and added to a card, scene, or notebook with compatible paper.